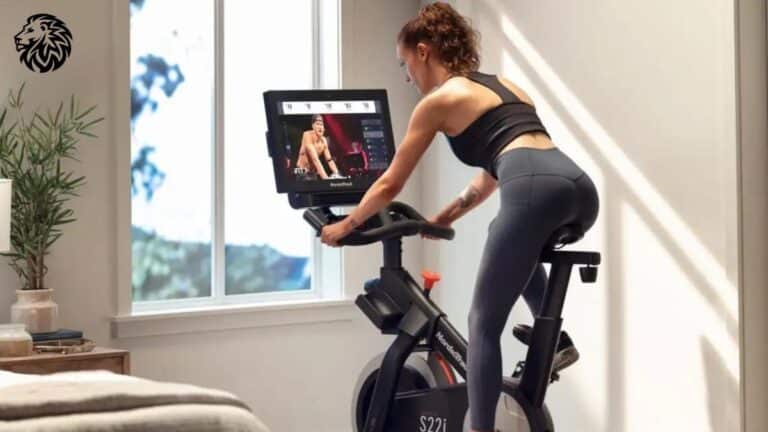
Setting Up Your Stationary Bike
Alright, let’s make sure you’re ready to ride your stationary bike without feeling like you’re wrestling a rhino. Getting your setup right means happier joints and more productive sweat sessions. Kinda important, right?
Adjusting the Seat Position
Getting the saddle height just right saves your knees and yes, that means more than just sitting down and hoping it’s okay. Here’s how you do it:
- Stand next to your little two-wheeled (well, stationary) wonder and line up the seat with your hipbone. You know, that bony bit at the side. Sorta like Goldilocks with oatmeal: not too high, not too low, just right.
- Hop on, and give those pedals a spin. Bring one pedal down to the six o’clock spot (check the imaginary clock).
- When your foot’s down there, your knee should have a bend like when you’re moderately short on patience—around 5 to 10 degrees. Just a hint of softness, not a full-blown argument.
Quick guide for reference:
| Measurement | Desired Amount |
|---|---|
| Seat Height | Lined with hipbone |
| Knee Bend | 5 to 10 degrees |
Don’t let an uncomfortable seat ruin your ride, consider some cushy goodness with specialized seat cushions.
Setting Handlebar Height
You don’t want your spine doing the Macarena. Let’s get those handlebars set straight so your back feels at home.
- Adjust the handlebars to avoid what we’ll call the “hunchback of spinning class” look. Your back should be chill, not arched or hunched over like you’re hiding from the teacher.
- Relax them elbows as you grip the bars—like you’re holding a cookie, gentle but firm. No locking out the arms like you’re on patrol.
- Measure the space between your handlebars and seat: it should be as long as your forearm plus your hand, or “the fist of truth” as some might call it.
Remember these handlebar hacks:
- Handlebar Height: Easy on the back, like your spine’s kicking back on a lounger.
- Elbow Bend: Easy peasy with soft arms, not turning your shoulders into beasts of burden.
- Spacing: Handlebars to seat should match cupcake’s length. Arm’s length + a fist.
Set up your ride right, and you’re on track to enjoy all the cycling goodness. If you’re itching for more guidance, check out beginner workouts for some inspiration on the ol’ stationary.
Proper Pedaling Technique
Getting your pedaling technique down pat on your stationary bike is the secret sauce to making your workout count and keeping injuries at bay. Here’s a nifty guide to nail that technique.
Checking Out Leg Extension
When you’re pedaling, think of your leg extension as part of your biking groove that keeps you safe and on point. Here’s how to hit the sweet spot:
- Leg at 6 O’Clock Position: When your foot’s at the bottom, or the 6 o’clock position, keep your knee angle somewhere between 25 and 35 degrees. Don’t go all straight-legged here—your knees won’t thank you for it (Washingtonian).
- Heel Test for Full Extension: Rest your heel on the pedal at that same 6 o’clock spot. If your leg stretches out all the way, your seat’s sitting pretty. This way, while you’re actually pedaling, your knee keeps that slight bend it needs.
| Leg Position | Knee Bend (Degrees) |
|---|---|
| 6 o’clock | 25-35 |
| Heel on Pedal at 6 o’clock | 0 (Full Extension) |
These tweaks will make your ride smooth and comfy.
Keeping Knee Alignment On Point
Knee alignment isn’t just a fancy term—it’s your ticket to avoiding ouchies and keeping joints happy. Here’s the lowdown:
- Seat Height: Your seat should line up with your hipbone, making sure your legs move just right (HSS).
- Knee Bend at Front Pedal: As your foot hits the front, make sure your knee stays with a tiny 5 to 10-degree bend—that’s the golden zone to dodge knee pain and enjoy efficient riding.
Keeping your knees in line with those pedals ups the comfort and efficiency of your cycling game.
Want more tips on getting your bike ready for prime-time workouts? Check out our takes on stationary bike workouts for newbies and stationary bike hiit routines. These nuggets will keep you pedaling in the right direction towards health and fitness!
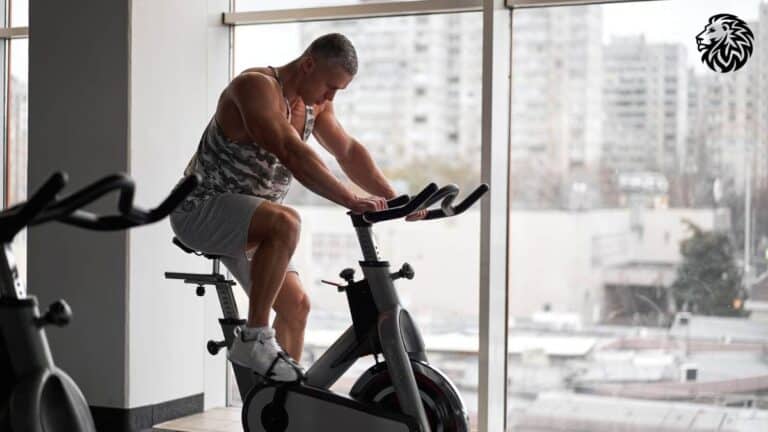
Efficient Riding Posture
You want to be comfy, fast, and safe on your exercise bike, right? Keep reading to learn the secrets to setting up your bike so you can ride like a pro without hurting yourself. Let’s figure out how far those handlebars should be and get your arms and back lined up just right.
Finding the Right Handlebar Distance
So, here’s the deal: the space between your seat and handlebars is a big deal. Not too close, not too far. Got your tape measure? Good. Measure from your elbow to a relaxed fist. Adjust those handlebars so you hit that sweet spot.
When you’ve got this right, you’ll find it’s easy to grab the handlebars without doing the limbo or feeling like you’re about to nosedive. Keep your back calm and cool to dodge any annoying backaches.
| Measurement | Handlebar Distance |
|---|---|
| Elbow to Loose Fist | 14″-18″ (But you’re unique, so yours might differ) |
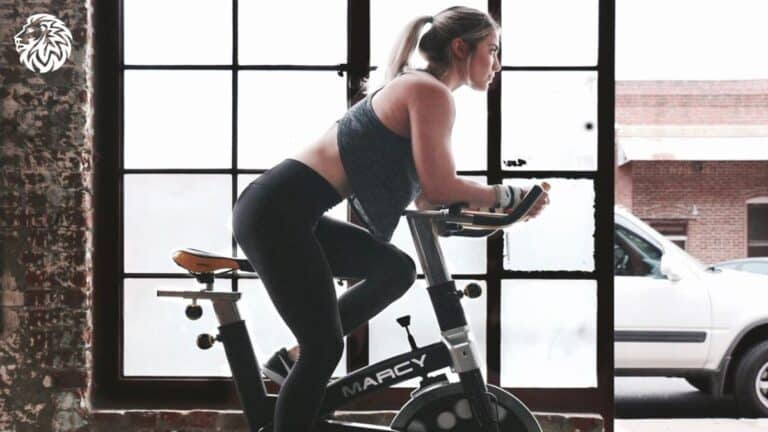
Keeping Arms and Spine Aligned
Start by sorting out the handlebar height. You want your back to stay fairly straight, like a soldier at ease—not a rolling mountain range. Get those handlebars at a height where your elbows are gently bent, not stiff as a board.
Engage that core (yes, even off the mat) and hold on to the handlebars lightly—don’t squeeze the life out of them. You want your weight to be shared nicely, relaxing your shoulders too.
Keep your neck in alignment while you cycle. That means not constantly craning your neck upwards as if you’re birdwatching on the Tour De France. Instead, listen for critical instructions and keep your posture on point.
Proper form on your bike isn’t just about looking good; it helps your biking game and keeps injuries at bay. For more bike goodness, see our scoops on stationary bike workout plans and easy-on-the-joints workouts.
By sorting out your bike setup and perfecting that riding posture, you’re setting yourself up for a top-notch fitness experience, with plenty of health perks to boot.
Benefits of Indoor Cycling
Indoor cycling’s like a fitness jackpot you’ve hit without even leaving your living room. Let’s dive into how pedaling away on a stationary bike helps you torch calories, tone up your body, fire up those muscles, and get your heart pumping.
Burning Calories and Improving Body Composition
Hopping on a stationary bike is like waving a magic wand over unwanted calories. A go-hard-or-go-home 45-minute session can zap over 500 calories. Even after you’ve hopped off, your body keeps torching those calories for a solid 14 hours, adding another 190 to the mix. That’s like getting a bonus round for your efforts!
Indoor cycling isn’t just about sweating it out; it’s great for your body’s composition too. A study with 40 women found that those who paired cycling with a few tweaks to their diet saw a real change in body mass and fat percentage after 12 weeks. Want to crank it up a notch? Throw in some high-intensity intervals into your routine.
| Activity | Calories Burned (45 min) | Post-Exercise Calories Burned (14 hrs) |
|---|---|---|
| Vigorous Cycling | 500 | 190 |
Engaging Muscle Groups and Enhancing Cardiovascular Health
Indoor cycling isn’t just a leg day thing. It’s more of an all-body party. You get your big muscle groups like quads, hamstrings, calves, and glutes joining in. If your bike has handles, your upper body and core come out to play too, giving you that whole-body workout vibe.
Cycling is also pretty much a ‘heart-happy’ kind of exercise. In one study, thirty folks with metabolic syndromes showed big improvements in blood pressure, cholesterol levels, triglycerides, and fasting blood sugar just by pedaling consistently and making some diet changes. Regular indoor cycling sessions might just give you similar perks too, without the outside weather drama.
For more on making those muscles burn just right, check out our guide on stationary bike resistance.
| Health Benefit | Improvement |
|---|---|
| Blood Pressure | Decreased |
| Cholesterol | Decreased |
| Triglycerides | Decreased |
| Fasting Blood Sugar Levels | Decreased |
So, adding indoor cycling to your fitness regime not only supercharges your calorie burn but also works wonders for your body shape and heart health. Want to switch things up more? Our workout plans are just a click away.
Assembling Your Stationary Bike
Getting your stationary bike set up right is the first step to a sweat-drenched session without a hitch. Let’s run through the essentials to make sure you’re in for a smooth ride.
Recommended Tools for Assembly
While some bikes come with their own tools—and sometimes they’re about as useful as a chocolate teapot—having a few extras can make life a whole lot easier. Here’s a handy list from Your Exercise Bike:
- Adjustable Wrench
- Allen Wrenches
- #1 and #2 Phillips Head Screwdriver
- Cordless Drill
- Rubber Mallet
- Rubber Gloves
- Ratchet Kit
Even if your bike arrives with a couple of gadgets, these pals can save you time and effort.
Step-by-Step Assembly Process
Ready to roll? Follow these steps to get your bike up and pedaling:
- Install the Stabilizer Bars
- Get started by attaching the front and rear bars. Use those bolts and wrench to secure ’em to the frame.
- Attach the Seat Post and Saddle
- Slide the seat post into its nook, lock it in, then throw on the saddle and tighten those bolts.
- Set the seat height so it’s level with the top of your thigh (Your Exercise Bike).
- Attach the Handlebars
- Pop the handlebar post into the frame, slap on the handlebars, and make sure it’s comfy—level with your seat is usually the way to go.
- Install the Pedals
- Remember, right pedal goes clockwise, left goes counterclockwise. Tighten up nicely with that adjustable wrench.
- You’ll want a bit of a bend in your knee at the 6 o’clock position, think 25-to-35 degrees (Washingtonian).
- Attach the Display Console (if applicable)
- Check the manual—ain’t nobody got time for loose wires or wobbly consoles.
- Install the Base Stand
- Last but not least, bolt the base stand to the frame. Stability is key here.
| Assembly Step | Estimated Time |
|---|---|
| Install Stabilizer Bars | 10 minutes |
| Attach Seat Post and Saddle | 10 minutes |
| Attach Handlebars | 10 minutes |
| Install Pedals | 10 minutes |
| Attach Display Console | 10 minutes |
| Install Base Stand | 10 minutes |
It should take 30 minutes to 2 hours, depending on your bike’s complexity (Your Exercise Bike).
Once you’ve got everything secured, you’re ready to hit your stride. For tips on getting the most out of your workout, check out our pieces on benefits of using a stationary bike and stationary bike workouts for beginners. Let’s get that body moving!
Keeping Your Stationary Bike in Good Shape
Taking care of your stationary bike means you’re more likely to have a workout buddy that sticks around for years, making sure your sweat sessions are smooth and effective. It’s all about tidying up, adding a bit of oil here and there, and giving your bike the once-over regularly to make sure it’s in tip-top shape.
Keeping It Clean and Slick
A clean, well-oiled bike is a happy bike. Here’s how you can add some love to your pedal pal:
- Wipe Off That Sweat: After each ride, swipe a damp cloth across your bike to banish sweat and dodge rust attacks.
- Oil Up the Joints: Make sure to give moving parts like the chain, pedals, and flywheel a little lubricant love. A few drops here and there keep it purring and free from annoying squeaks (Fitness Expo).
- Tighten Up the Chain: If your bike has a chain, keep it tight! Wiggle those axle nuts loose, adjust the chain evenly on both sides until it’s just right, then tighten everything back up (Spinning.com).
Check-Ups for a Smooth Ride
Regular check-ups keep your stationary bike running safely and efficiently, ready for whatever workout you throw at it. Here’s your simple guide:
- Monthly Check-In:
- Make sure all nuts, bolts, and holders are snug and secure.
- Lubricate the drive chain with something slick.
- Give some attention to the brake tension rod and posts so they’re operating without a hitch (Sunny Health Fitness).
- Tweak That Tension:
- Regular adjustments keep your workout comfy yet challenging. Your bike’s manual is the holy grail for nailing those tension tweaks (Fitness Expo).
Quick Maintenance To-Do List
Check out this table for keeping tabs on what needs doing and when:
| Maintenance Task | When to Do It |
|---|---|
| Wipe Off the Sweat | After each ride |
| Oil the Moving Parts | Weekly |
| Check and Tighten Bolts | Monthly |
| Tighten Chain if Needed | Monthly for chain bikes |
| Adjust Tension | As needed |
Stick to these simple upkeep rituals, and your bike will keep on delivering, helping you smash those fitness goals with ease.
For more about why stationary bikes are awesome and starter workouts on stationary bikes, have a look at our in-depth guides.